Overview
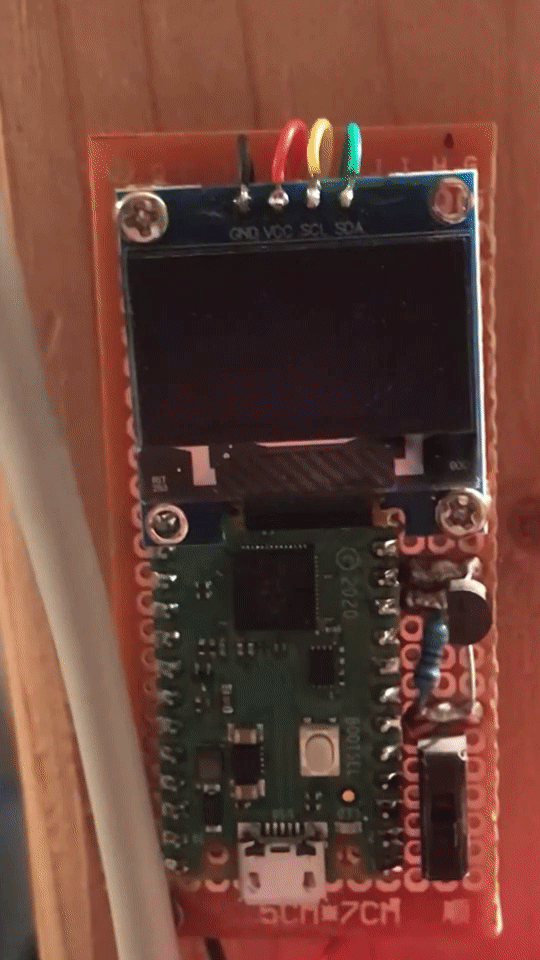
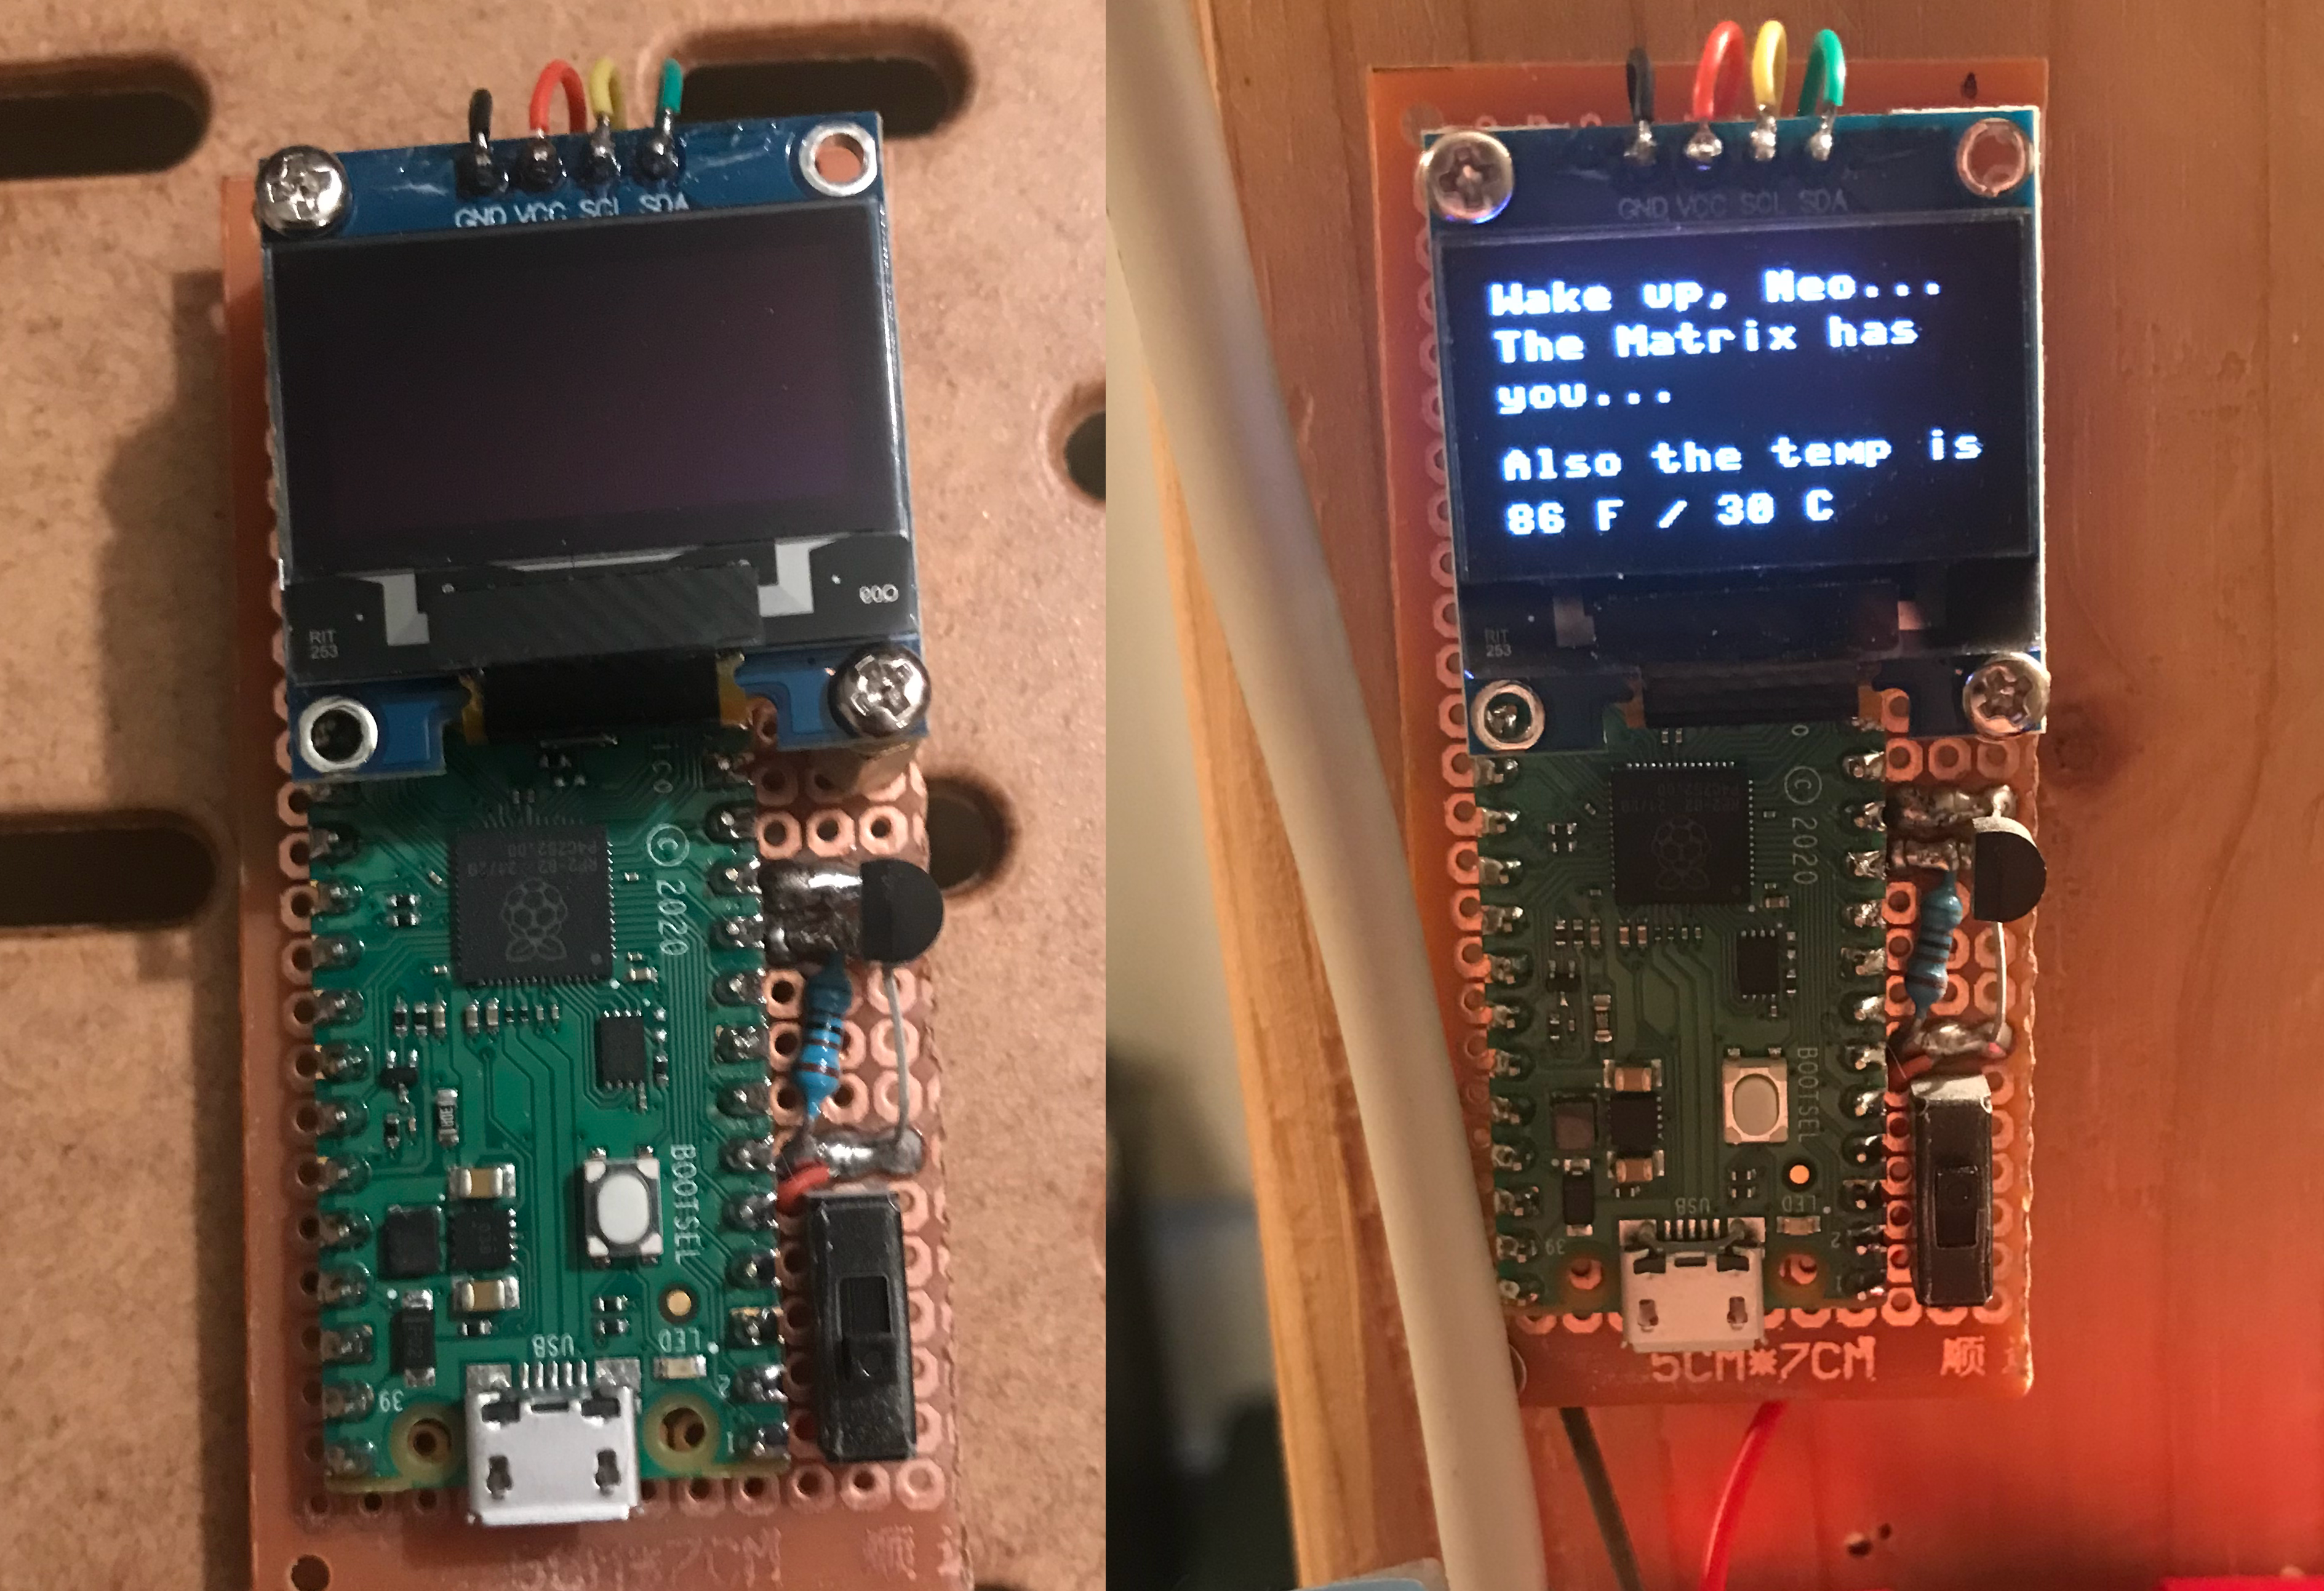
This was a simple enough project using a microcontroller, temperature sensor, and display. I made this after moving into my new apartment and it did not have a way to view the inside temp - there was to turn on / adjust the heat, yes, but not view what it was currently at. So I ordered a pair of DS18B20 sensors off ebay for around 5 bucks and a week later made this. Thankfully there were already plenty of resources out there on how to get started with the Pi Pico since it is completely different from the Pi Zero, 3 B+, and 4 I have worked with in the past, as well as the libraries for interacting with the OLED display and the sensor. You can power this over the pins (which I am doing) or by simply using the micro usb port, and the end result looks something like this (sorry for how shaky it is):
Hardware
Components needed
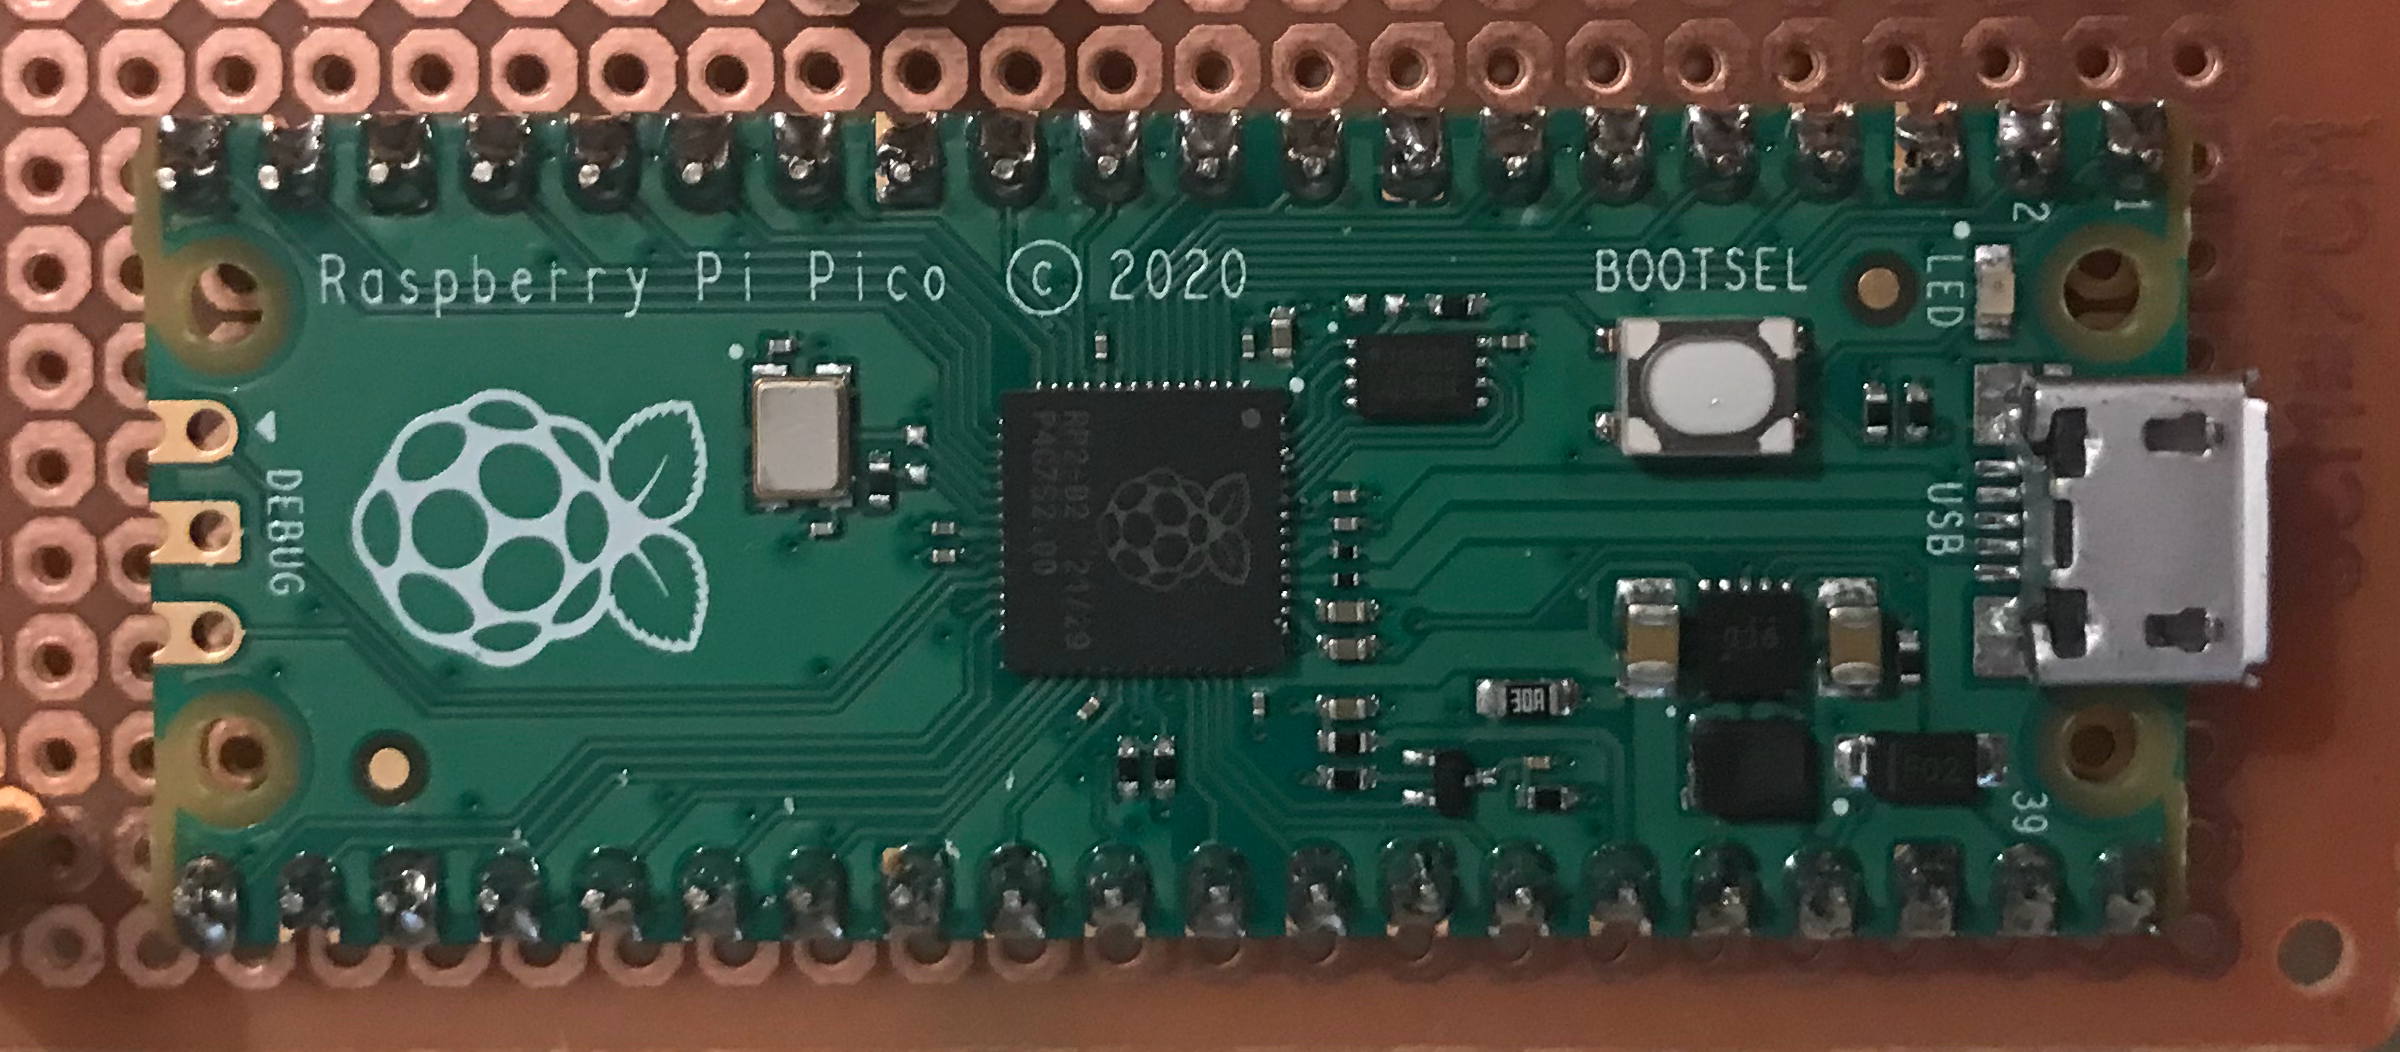
- 1x Pi Pico (wireless not needed)
- 1x OLED 128x64 SSD1306 Driver I2C Serial
- 1x 4.7k resistor
- 1x Male pin headers
- 1x SPST/SPDT switch
- 1x DS18B20 temperature sensor
- 1x Perf board
- Soldering iron, solder, wires, dremel, etc.
Some of these links might go bad in the future, but I’m confident you can find something similar enough.
Assembly
Here’s a quick circuit diagram before getting started:

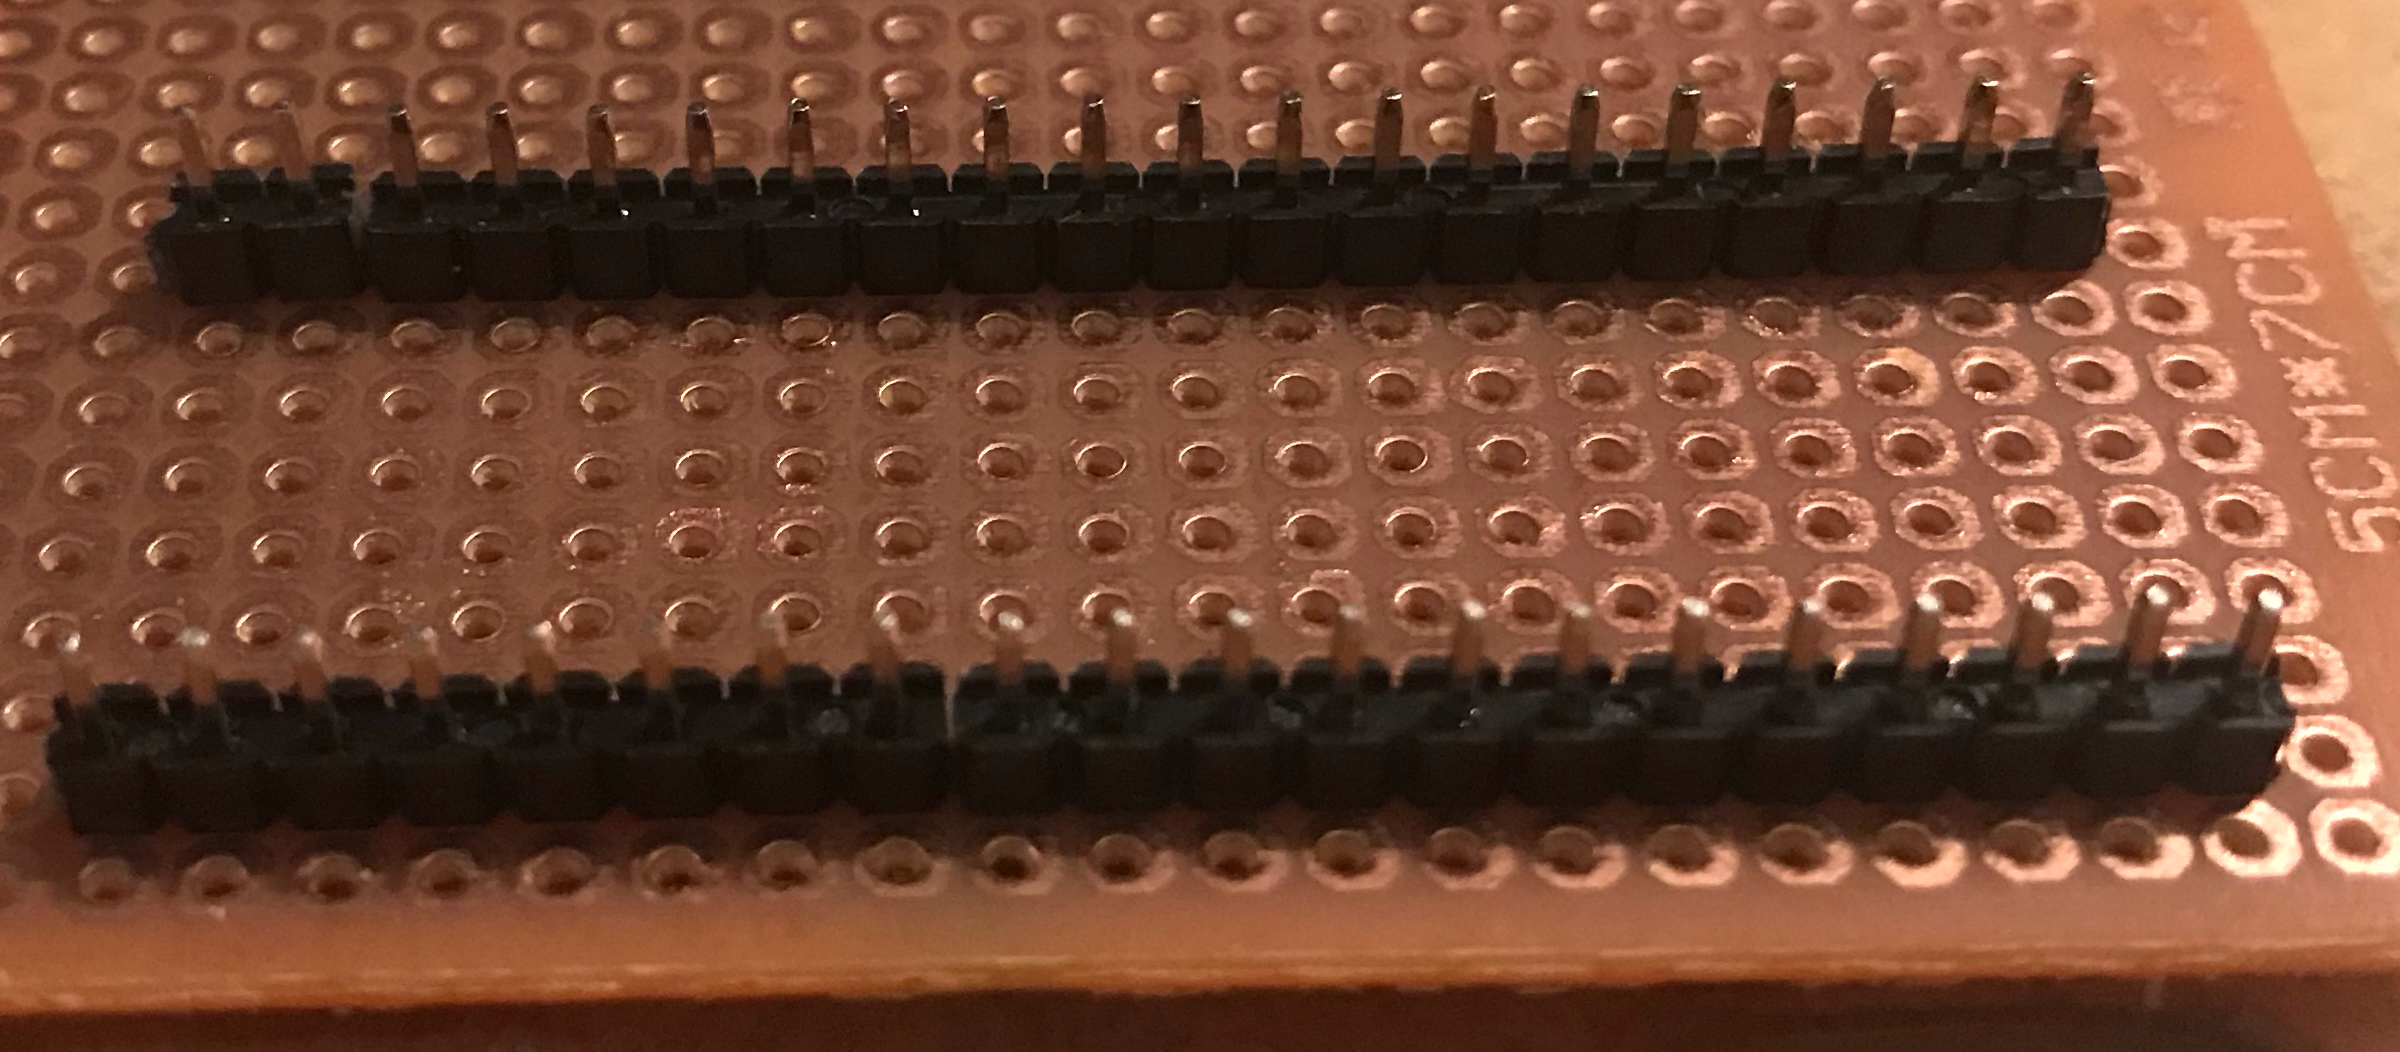
Using a perf board mount the two male pin headers and solder them on, the pico board on top:
After that get the OLED display wired up and attach it to the perf board (I used a couple of braces so it hovers over the Pi Pico, but anything works). GND to any ground, VCC to pin 36 (3V3 OUT), and SDA and SCL to pins 1 and 2, respectively. The pins for the DS18B20 sensor connect according to the circuit diagram which does look kind of weird at first glance, so make sure you double check the wiring.
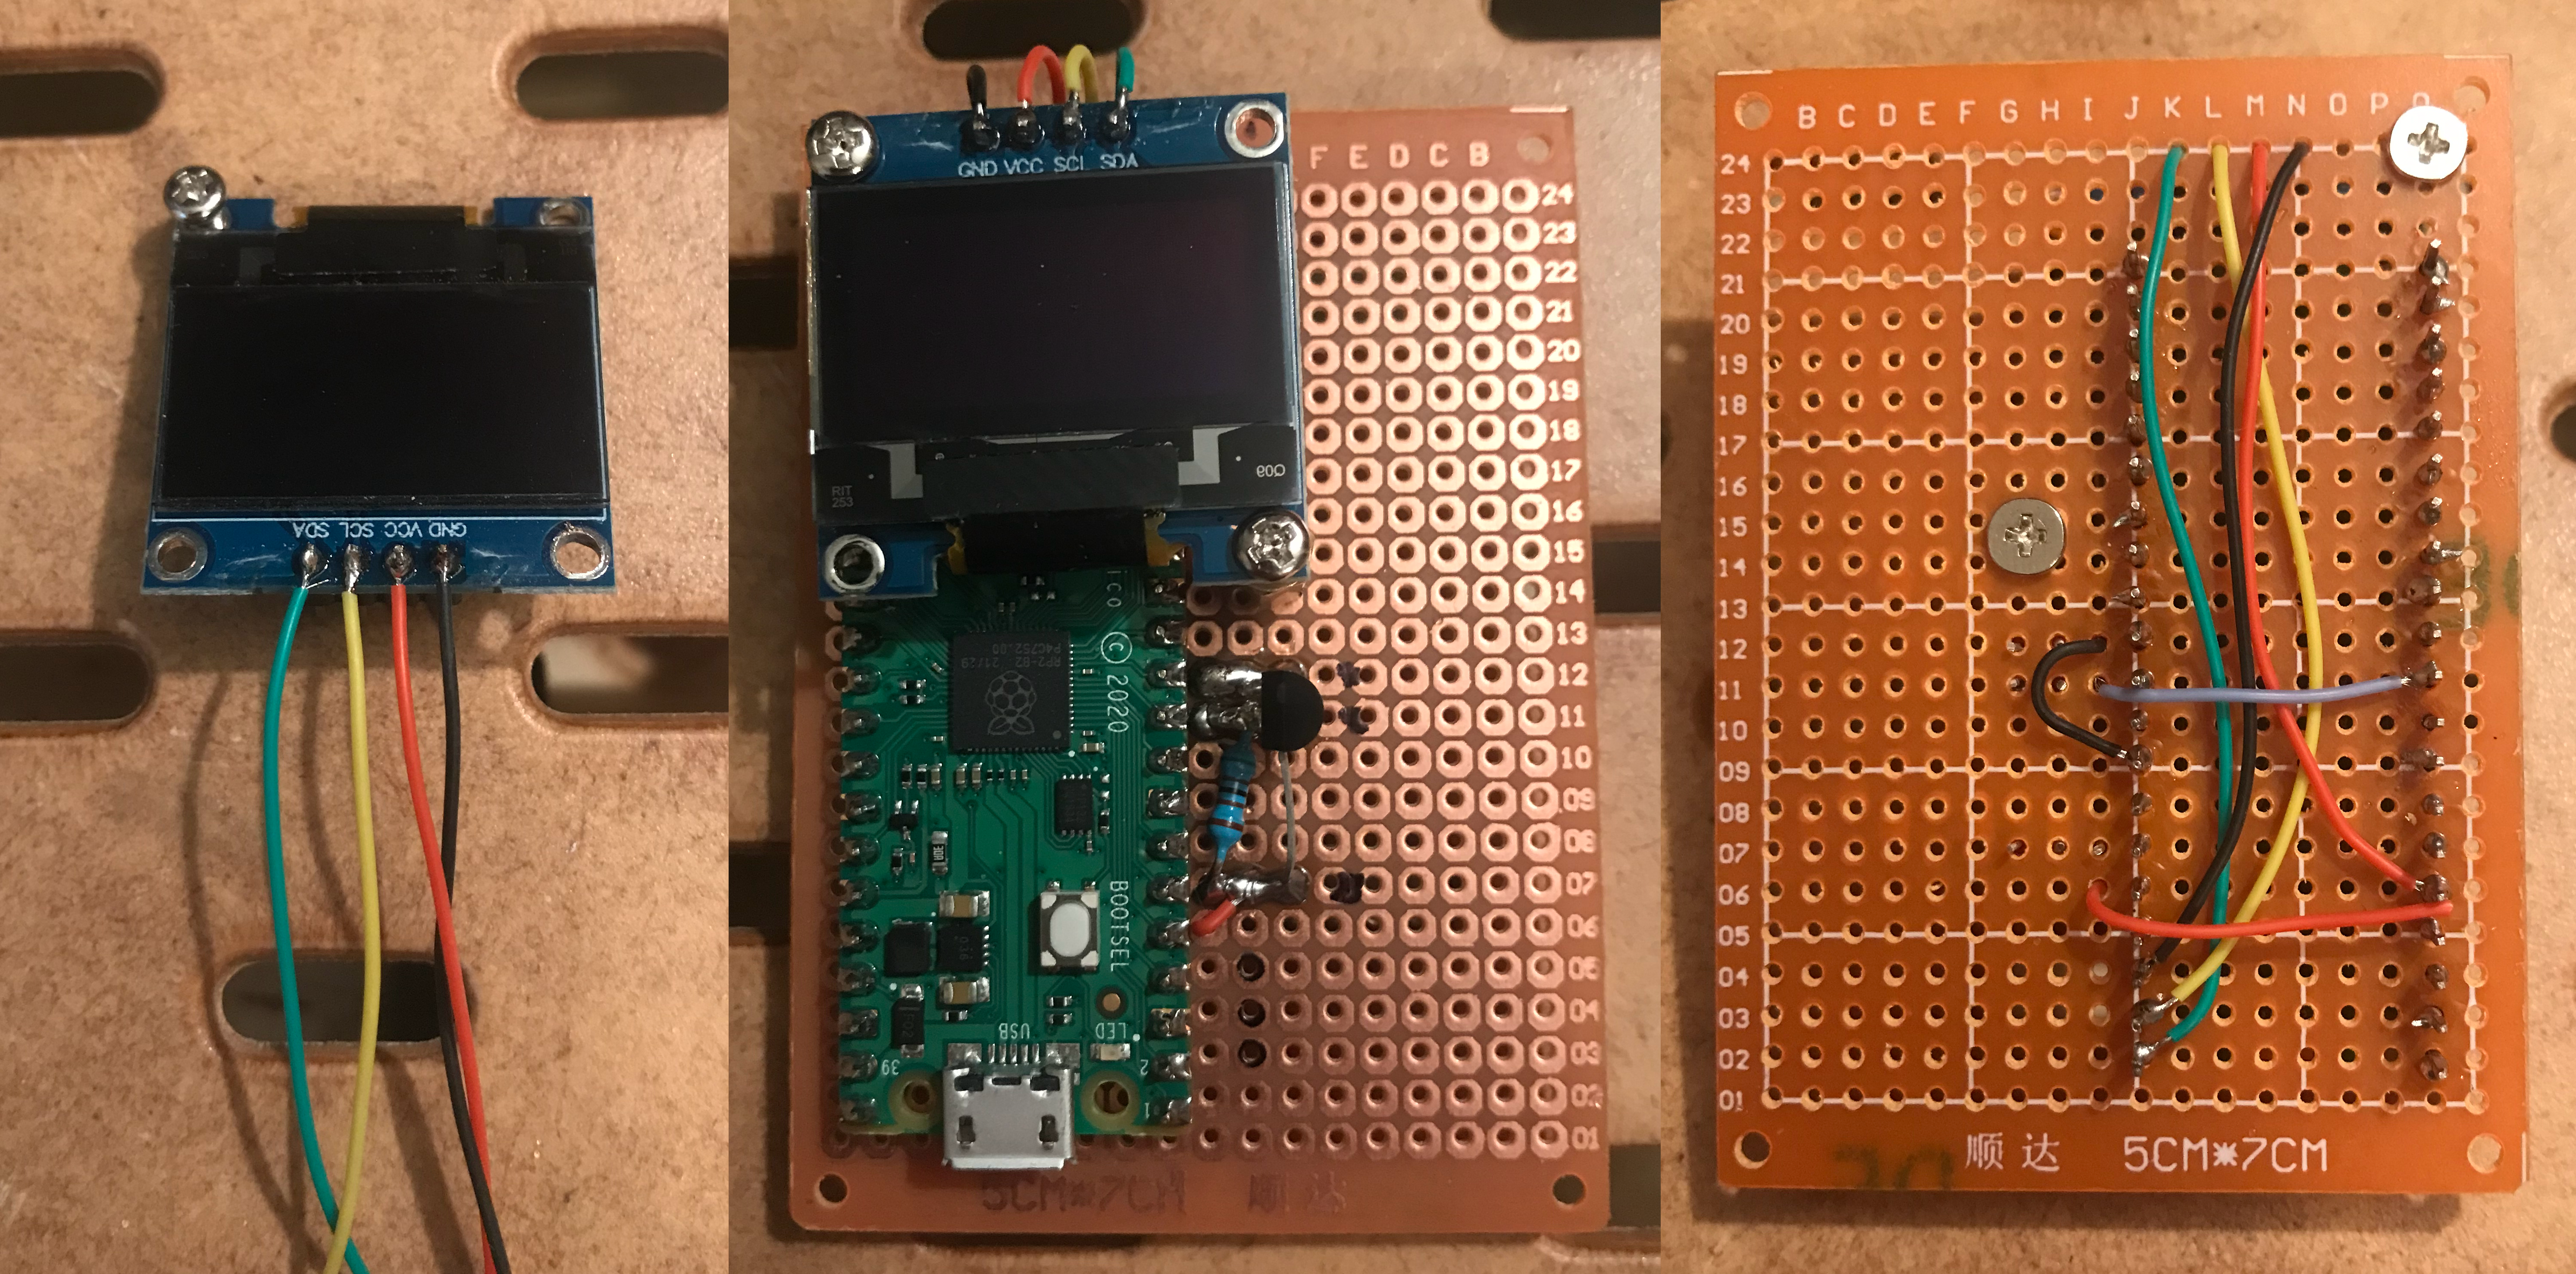
After that I just wired up the switch in between the power line to the Pico board and then used a dremel to trim up the perf board a bit:
Software
Before getting started please ensure your micro USB cable is not a power-only cable. I had to go through four cables until I found one that included the data wires and I was worried the Pico board was broken the entire time.
After following the steps to install MicroPython on the Pi Pico by transferring the UF2 file over, open your device manager and see if it is in fact being recognized under the ‘Ports (COM & LPT)’ section as a serial device. For me it was recognized as ‘COM5’, and going to PuTTY we can now open up a serial connection with it and try some basic python commands. To be original you can try something like, oh I don’t know, “hello world” or something. I bet no one has used that before.
Now that we can see the device is working properly and we can communicate with it, let’s shift over to Thonny to write the script for the temperature monitor. You’ll need to install the ‘micropython-ssd1306’ package under the ‘Tools’ tab. Make sure you are working with the Pico device and not a version of Python you have locally installed on your machine. If you need to change this click ‘Run > Configure interpreter’ and switch it to the Pi Pico (this will also prompt you for the COM port). Leave the rest of the settings as they are.
Now you should be able to write, upload, and execute scripts on the board. If you are just using my script you can copy and paste below to the editor and then save it to the device as main.py:
from machine import Pin, I2C
from ssd1306 import SSD1306_I2C
import time, onewire, ds18x20

SensorPin = Pin(26, Pin.IN)
sensor = ds18x20.DS18X20(onewire.OneWire(SensorPin))
roms = sensor.scan()

i2c=I2C(0,sda=Pin(0), scl=Pin(1), freq=400000)
oled = SSD1306_I2C(128, 64, i2c)
cur_temp='Error'

while True:

    sensor.convert_temp()
    time.sleep(2)
    for rom in roms: #only one here, don't worry
        cur_temp_celsius=round(sensor.read_temp(rom),1)
        cur_temp = int(cur_temp_celsius * 1.8) + 32

    oled.fill(0)
    oled.text("Wake up, Neo...", 0, 0)
    oled.text("The Matrix has", 0, 12)
    oled.text("you...", 0, 24)

    oled.text("Also the temp is", 0, 42) #why the hell do they not support the degree symbol??
    oled.text(str(cur_temp)+" F / "+str(int(cur_temp_celsius))+" C", 0, 56) #chr(176) also does not work

    oled.show()
That file is available for download from here as well. Note that the final program needs to be saved as main.py in order for it to run at the microcontroller’s boot. And that’s all! If this is your first time working with the Pico it will take a few extra minutes getting adjusted to interacting with the board but it is very simple once you do. If you have any questions feel free to reach out.